How to Take Pictures of Yourself When Traveling Solo
Q: Do you ask random people to take your pictures when you travel solo??
A: Yes, about 1% of the time. But, 99% of the time? It’s just me and my Sony!!
The inherent nature of solo travel is incredibly empowering. You realize that you can travel across the world, have epic adventures, deal with mishaps independently, and return home safe and sound. It’s one of the PRIME reasons you should try solo travel at least once in your lifetime! But, you know what has taken that feeling and amplified it for me? Figuring out how to take high-quality pictures of myself, all by myself! It’s taken some practice, but like anything else, it gets easier each time! I’m by NO MEANS a professional photographer, but I’ve learned some tricks through experience. Check out my solo travel photography tips below!
Here’s how I take pictures of myself while traveling solo!
Setting up your camera (or phone!)
There are a few different ways to get a picture of yourself without physically clicking the shutter-release button.
Self-timer: The first method is to activate your camera’s timer. Each camera brand has a different settings menu where you’ll find the self-timer and how the timer can be customized. You can typically select an option where your camera takes a specified number of pictures at given intervals. For example, I like to set up my Sony Alpha a7 III timer to take five photos of me in total, separated by 3-second intervals (i.e., 15 total seconds of me posing in front of the camera). I also like to give myself a bit of a time delay to run to a specific spot and pose; for me, a 10-second delay is usually workable. You can find information about where to find the timer and its optionality in your camera’s set-up guide. Too lazy to read the entire booklet? No shame, I was!! If you search “Camera set-up” along with the name of your specific model on Youtube, you’re highlyyy likely to get a full camera tutorial in layman’s terms from an actual human!
Don’t have or want a fancy camera? You similarly can set a self-timer on your phone! Again, where to find the camera timer will depend on your specific phone brand/model. Once I’ve navigated to the camera function on my iPhone, there’s a small upwards arrow at the top-middle of the screen. When I click that, it brings up a menu of advanced settings, including flash, dimension size, and SELF-TIMER! You can set a 3-second or 10-second delay, but unfortunately, there isn’t an option to take more than one curated shot at a time. But I have a little hack for this! Set your iPhone camera on “Live Mode,” and then you can scroll through the various “bursts” and select your best live image!
The self-timer option is straightforward to navigate; just set it and forget it! It has a couple of drawbacks, though. Since you’ll likely need more than five intervals to “get the shot,” you’ll wind up running back and forth between the camera and your pose. Unless you’re super keen on getting those steps in, it gets annoying… quickly. It also looks a bit silly to any bystanders who may catch you in this stream of mini sprints.
Additionally, you have a lot less flexibility in the type of shots you can take since you only have a limited amount of time to run to your pose spot. In my example above, I had 10 seconds to get to my pose spot. But, what if you want to shoot an epic landscape shot with your camera sitting on a mountainside and you posing down in the valley below? Probablyyy will take you more than 10 seconds to get down there. In cases like that, the self-timer option is a no-go!
Wireless remote: Another way to take pictures of yourself when traveling solo is to use a wireless remote, either in the form of a small physical remote OR a digital app. And there are TONS of options!
In terms of physical clickers, there are wireless remotes for various cameras (like this one specifically made for my Sony Alpha model), and there are also multiple tripods that include a wireless remote (like this one). A physical remote solves the problem I mentioned above by giving you more time to pose. These remotes are an ideal option for taking pictures of yourself from afar with an iPhone. However, you’re essentially shooting blind. From my example above, let’s say you’re posing down in that valley while your camera is set up from above. It will be a bit tough to know if and when your poses are in-frame; you could theoretically spend 20 minutes down there taking useless pictures! If you’re taking photos with a traditional camera (not iPhone), this is a situation where a remote app SHINES.
With a remote app, you can see what the shot currently looks like live from your phone. Again, there are loads of options for camera remote apps, and it’s worth it to research what may be best for your camera brand/model! For my needs, I really like the app called Shutter, which easily connects to my Sony camera and allows me to manually adjust the shutter speed, aperture, and ISO from the app! It also pairs with my apple watch, which is a DREAM. Typically, the one drawback is that you have to hide your phone somewhere in your pose or in your pocket. Unlike a large phone, my apple watch is pretty unnoticeable in the shot!
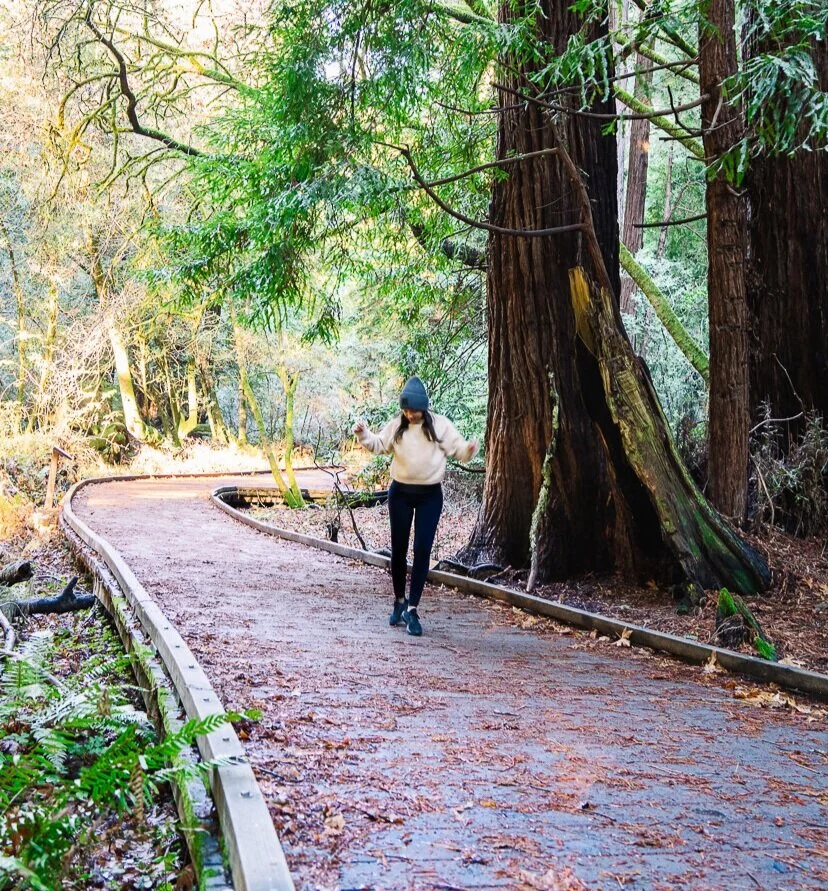
Whether you choose to take pictures of yourself with a self-timer or remote, I’d highly recommend shooting on continuous mode. This mode is the camera equivalent to “live mode;” the camera will take endless pictures until you tell it to stop. It’s ideal for having LOTS of options and filtering through your awkward poses or dead stares; I tend to end up with QUITE a few of those! The continuous mode also allows you to move around in the space posing in various ways before returning to your camera. Just make sure to use a high shutter speed if you’re going to be prancing around the forest (unless you’re seeking a blurry look)!
Ask someone else: Duh — this is by far the easiest method!! But, you may not always be in a location where there’s someone else around (particularly if you’re awake for that stunning SUNRISE light!), and you may not be handing your camera off to a *skilled* photographer. Honestly, I’ve gotten some pretty useless (see: crappy) pictures from incredibly kind and gracious strangers. I have some tips below for minimizing the crappy photo risk! There’s also a risk of camera theft, as well as spreading germs in a post-Covid world! If you DO choose to hand off your valuable to a stranger, make sure you trust them (as much as possible) and sanitize it afterwards!

Setting up your shot
If you’re looking to take pictures of yourself while traveling solo, a reliable tripod is an absolute MUST. Most traditional camera tripods come with a phone adapter, so it’s easy to switch back and forth between them! It’s hard to know what you’ll like in a tripod until you get out there and practice with one. Some are sturdy but heavy, while others are better for travel but flimsy. Some have twist locks, and others have flap locks. Still, others have ball heads that allow for a full range of smooth motion (great for video!!), which is an upgrade from the traditional pan and tilt movement.
I was SURE I wanted an inexpensive and lightweight tripod for travel until it toppled over into the mud on slightly uneven terrain. Yes, my camera was propelled into the mud mid-shoot. No, I will not be recommending that tripod in this post!!
Tripods for phones and cameras: Without breaking the bank, I’d REALLY recommend just trying one out and seeing what does and doesn’t work for you. The first one I purchased from Best Buy was ~$20, and it quickly showed me what I wanted from a tripod. Here are some options I’d recommend checking out; do your research by reading reviews and checking for the latest models!
I’m currently using the MeFOTO RoadTrip 61.6” tripod on my cross-country road trip, and I love it! It’s easy to manipulate with a ball head and expands to over 5 feet tall (almost as tall as me!). I find it well-made, sturdy, and light enough to be carried around at about ~3.5 pounds. However, it’s still a bit cumbersome to carry around backpacking or trekking. In those situations, I’d opt for something that’s even lighter and folds up smaller like this one, or this one if you’re willing to splurge for the best!
If you’re not yet ready to invest in a traditional tripod (or hate the idea of schlepping around gear) yet still want to start shooting yourself solo in the field, the JOBY GorillaPod is a fantastic option. Again, it’s compatible with both cameras and phones. This little guy is incredibly flexible! He can be wrapped around trees on a trail or set up on a table. The one major drawback is how mini it is. If there’s not something around to put it on, you’re going to end up with a lot of pictures of your ankles or unflattering upward-facing angles.
Mounts for GoPro: I’m in a pretty serious relationship with my GoPro, but I’ll try not to get too off-topic here. I have this GoPro 3-way Mount and love it! It acts as a grip, mini tripod, and selfie stick all in one! I also have my eye on this underwater dome for tropical explorations and this helmet mount for my next ski trip!!
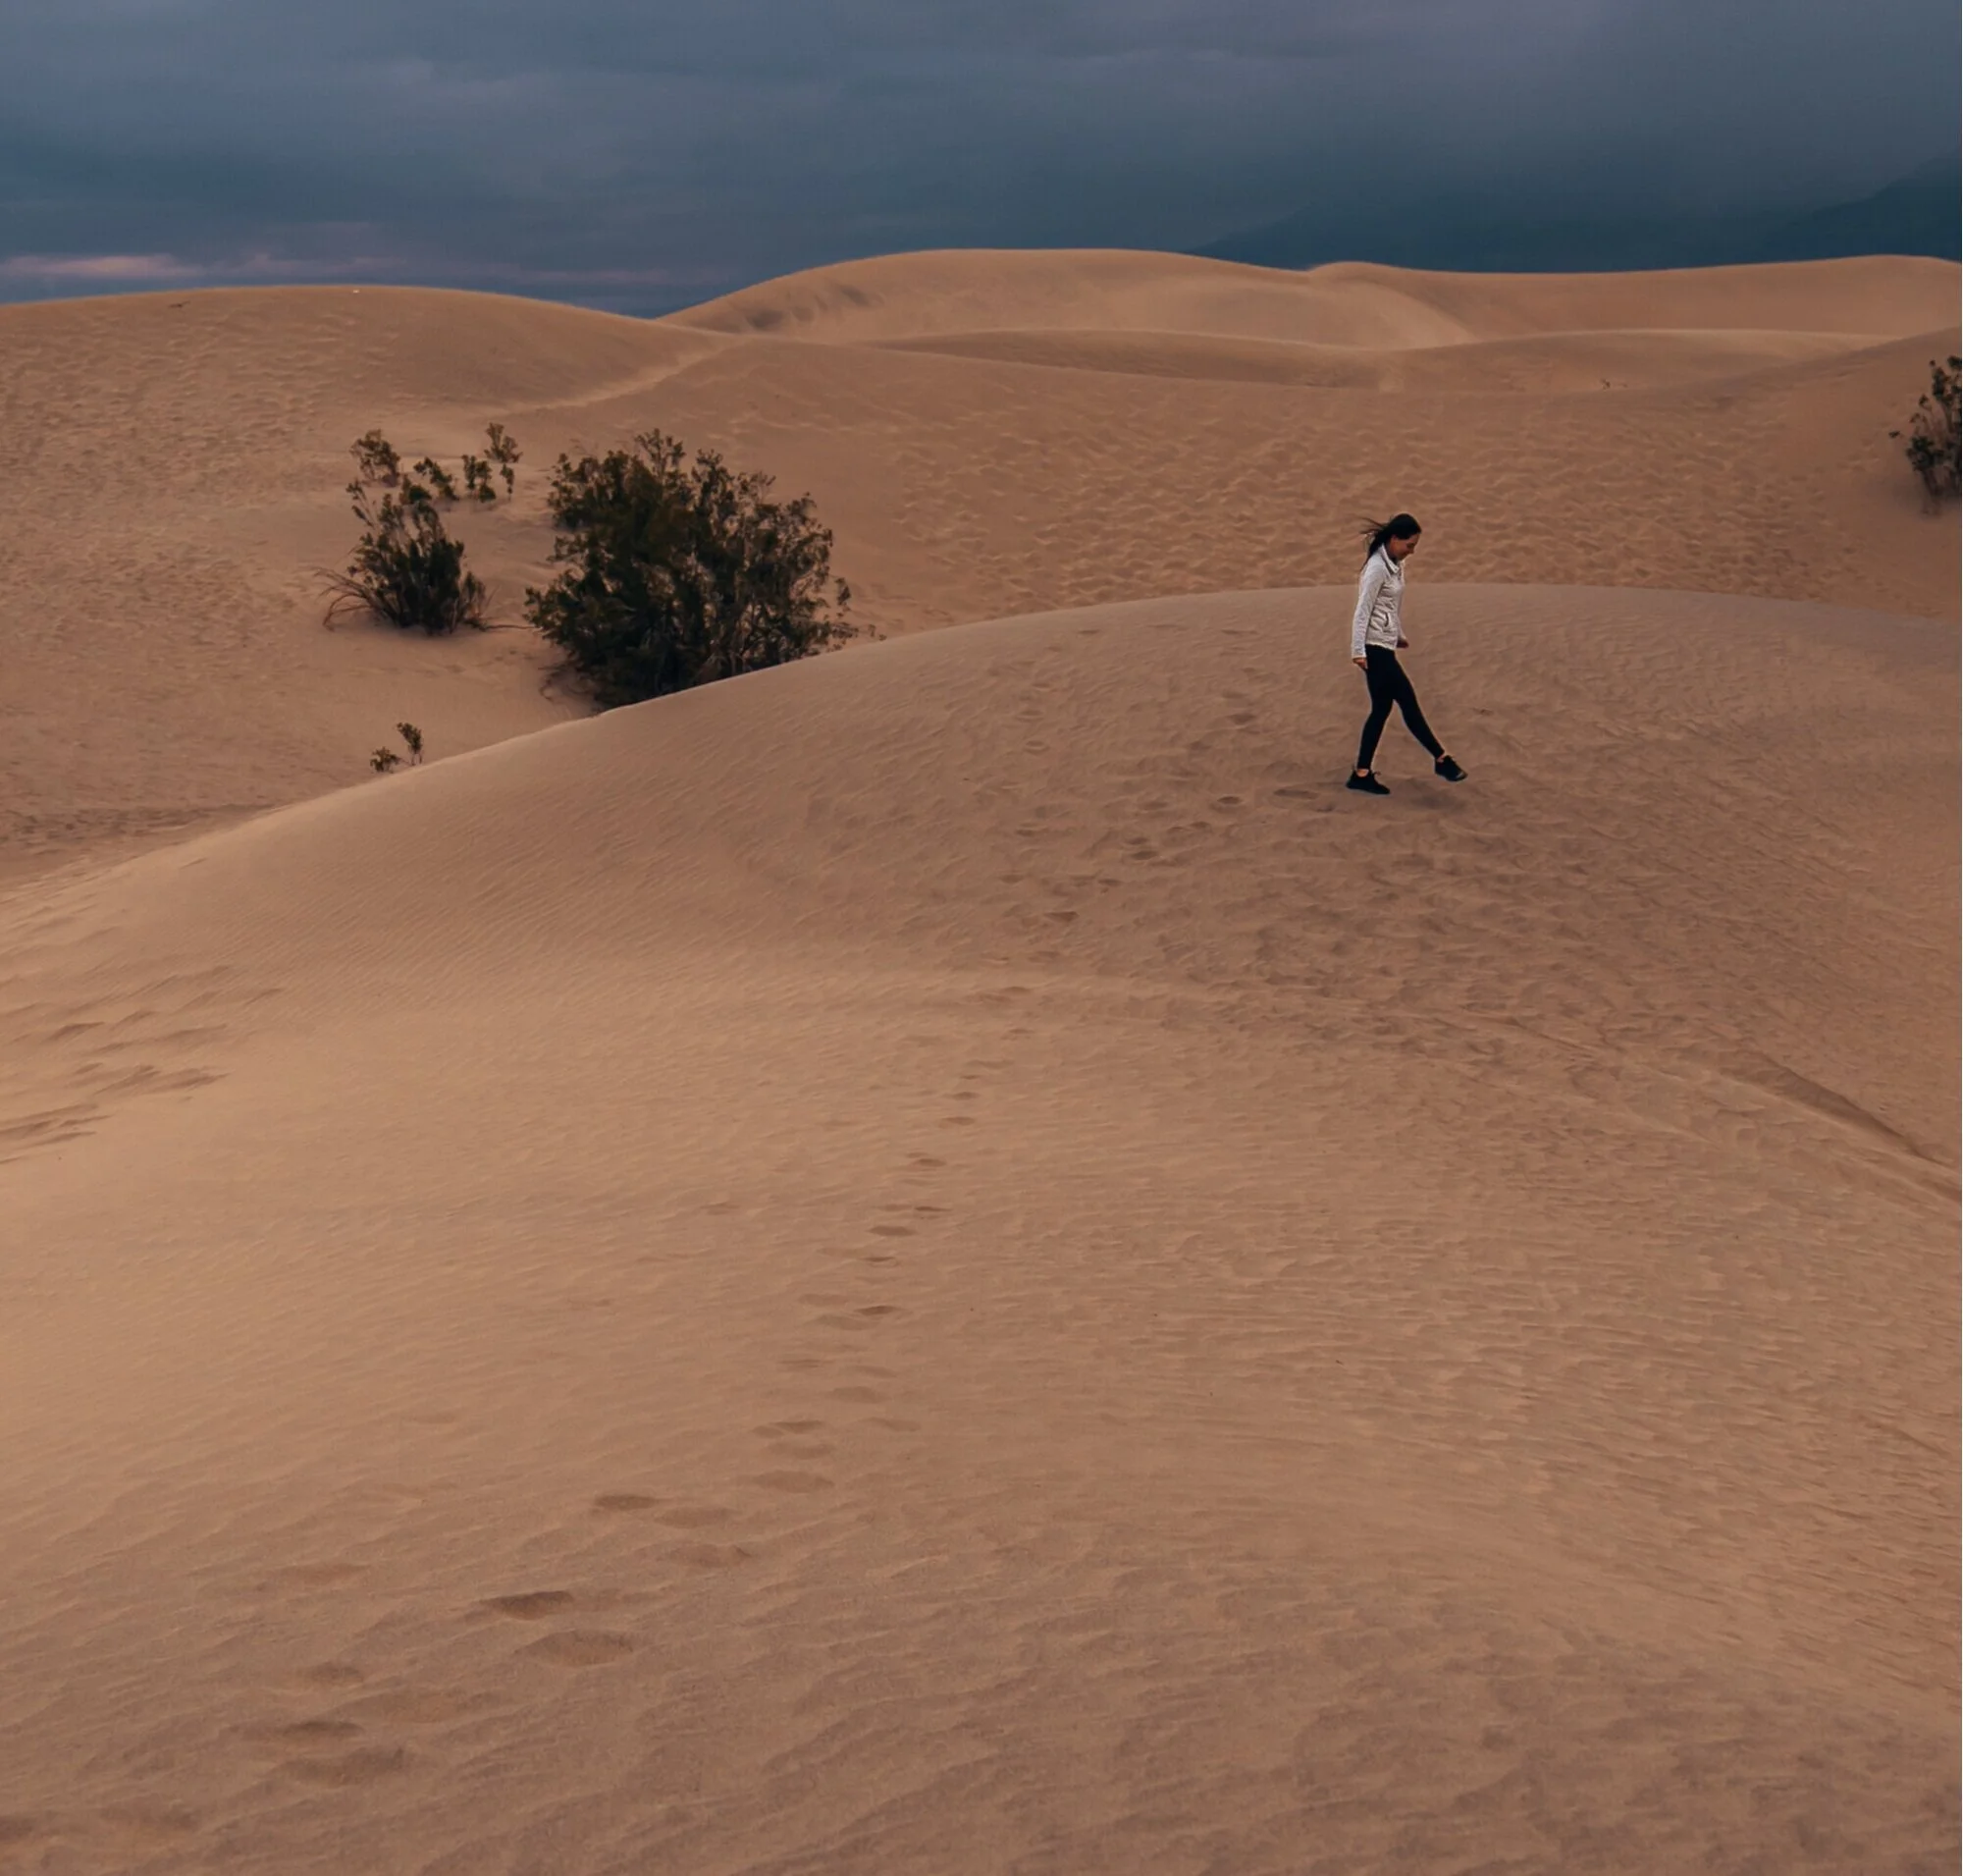
Get scrappy: Sometimes, I’m too lazy to carry around any extra gear and have to get scrappy with my surroundings. The above picture, for example, was taken by resting my camera on a well-positioned flat rock!
ONE MORE THING! In a situation where I’m asking someone else to take my picture, it’s equally important to set up your shot before handing over the reins! Make sure to finely tune all the dials how you want so that you don’t wind up with an overexposed or grainy photo. Additionally, don’t be afraid to provide a little direction! I find that I get MUCH better shots when I describe the image that I’m looking to capture; most people are happy to oblige! For example, you can say, “I want as much of the mountain in the frame as possible with me looking like a tiny ant,” or “I’d love a shot closer up from the waist up.” Another tip is to take a dummy photo with them in it first and ask them to replicate the same shot with you in it instead. This strategy works well with family or friends who likely have a bit more patience… :)
Getting comfortable in front of the lens
I should start this section by saying that I’m NOT one of those women who possess the natural grace and long limbs to pose effortlessly. I’m incredibly awkward in front of the camera! To loosen up, I love playing music! It makes the whole shoot more FUN and encourages me to move around and utilize the space. Let’s say there’s a bridge in the frame — sure, you can just stand in front of it. But, can you also stand against it? Sit on the railing? Jog away from the camera and get some real MOVEMENT in the shot? When in doubt, I dance around with the camera on continuous mode and hope to capture something lively and interactive; usually, at least *one* comes out Instagram-worthy! The goal is to move around in various poses and sub-locations, so you have as many options as possible.
Still feel like this sounds incredibly awkward if other people are around? First of all, you’ll learn to ignore them the more you do it. And second, you’re best visiting at unpopular times anyways! Typically the best lighting occurs during the golden hours around sunrise or sunset when tourist locations are just opening up or closing down for the day. All in all, fewer folks around staring at you during your mini solo photoshoot!
The more I practice my solo photography, the better (and more comfortable) I become, both with the equipment and with feeling comfortable in my own skin. You might as well start practicing now!
Are you looking to improve your solo photography skills? Ask away, and I’ll give the best advice I can!
Want more travel and photography tips like these? Subscribe to the blog!